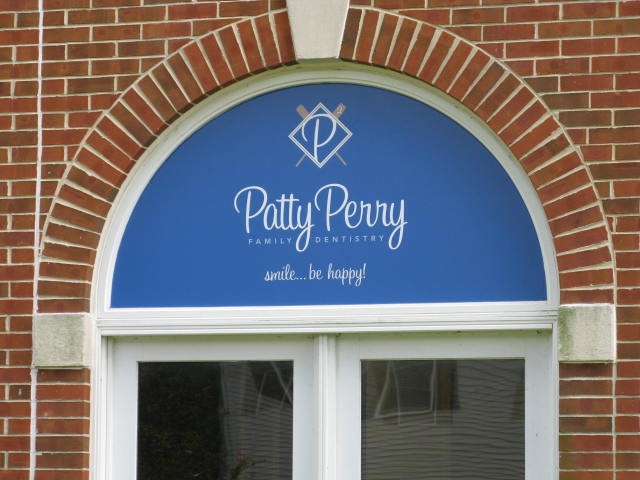
Seeing Double! How to Manufacture 2-Sided Window Graphics
February 29th, 2016
Written by Frank Corey, Senior Area Sales Representative
One of the most common questions asked by wide format digital printers is, “how do I manufacture a double sided graphic for a window application?” Sometimes you see a small graphic applied to the outside of a door and a similar sign backing it up on the inside of the door. This works for small door signs, but how do you manufacture a larger double sided sign that can be applied inside a window or door? How do you have back to back graphics without any light shining through to the second side?
There are two methods to get to the end result of an interior window double sided graphic.
The first method is a two step process. The first step is to print graphics on both sides of a blockout substrate such as Blox-Lite paper, DuraPrint Econoblock 8m film, or DuraBanner 13oz smooth banner. The second step is to laminate an appropriate adhesive to one image side. We recommend Quality Media’s WindowBond (bubble free adhesive) or InstaBond VT (smooth adhesive). Remove the liner on the adhesive and apply the graphic to inside of the window.
The second method is a three step process and can be accomplished one of two ways.
The first step is to reverse print (flipped) one image on a clear film. Quality Media has a variety of films to choose from such as DuraVinyl 262 (ultra removable), DuraVinyl 263 (wet apply) or DuraVinyl 463 (bubble free adhesive). Second, print the second image on a barrier film such as our DuraVinyl 305 product. DuraVinyl 305 is white on both sides, opaque in middle with a permanent ,clear adhesive. Third, carefully measure and line up printed barrier film (Duravinyl 305) and laminate it to the clear film image. Remove the liner off the clear film and apply to the inside of the window.
Another method is to, first reverse print one image (flipped) on a clear film (such as DuraVinyl 262- ultra removable, DuraVinyl 263- wet apply or DuraVinyl 463- bubble free adhesive). Laminate the barrier film (DuraVinyl 305) to the clear film image and reload this sandwiched material in printer and print second side on the barrier film (DuraVinyl 305). Remove liner off the clear film and apply to the inside of the window.
Which method you use will be determined by your printer, the size of the graphic, and how much bleed you have been given in the imaged area.
The first consideration would be how easy is it to print a two-sided graphic on your printer. Some newer printers have software to read tick marks printed on one side of the graphic and you can reload the roll and get perfect registration for the image on the backside of the media. (For graphics that have very little bleed, this is probably the safer alternative.) Apply adhesive to one image side and you’re done.
If there is a size consideration, WindowBond and InstaBond VT do not come wider than 54 and 51 inches. For windows to 60 inches wide, you would need to use the second method. The clear adhesive vinyls such as DuraVinyl 262 (ultra-removable), DuraVinyl 263 (wet apply) and DuraVinyl 463 (bubble free adhesive) are available in 60” along with DuraVinyl 305 (barrier film).
For most applications, it is recommended that no lettering or distinct graphics be near the top or bottom of the graphic, since this will make registration more forgiving.
Want to learn more? Fill out our Information Request Form and let us know that you read this blog post. We will have one of our technical sales representatives reach out to you to discuss the possibilities!


