Now viewing articles in the category Adhesives.
-
Why Winter Installs Fail (and How to Prevent Them)
December 3rd, 2025
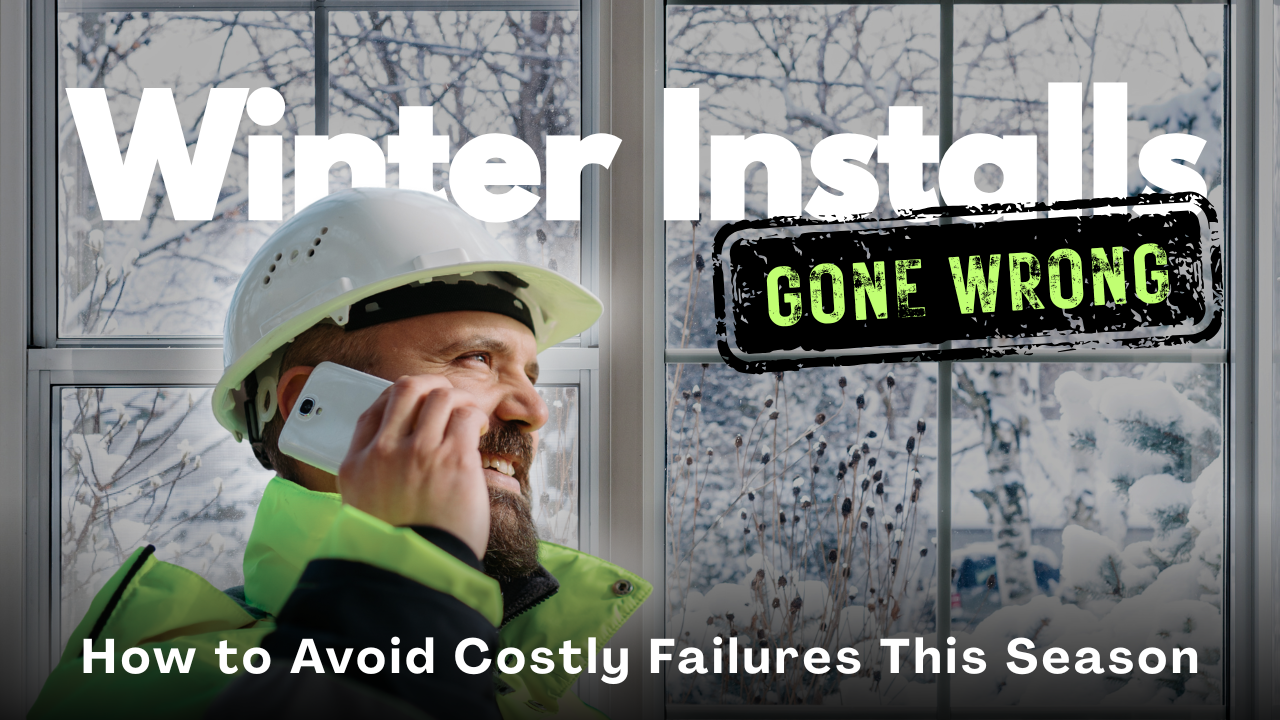
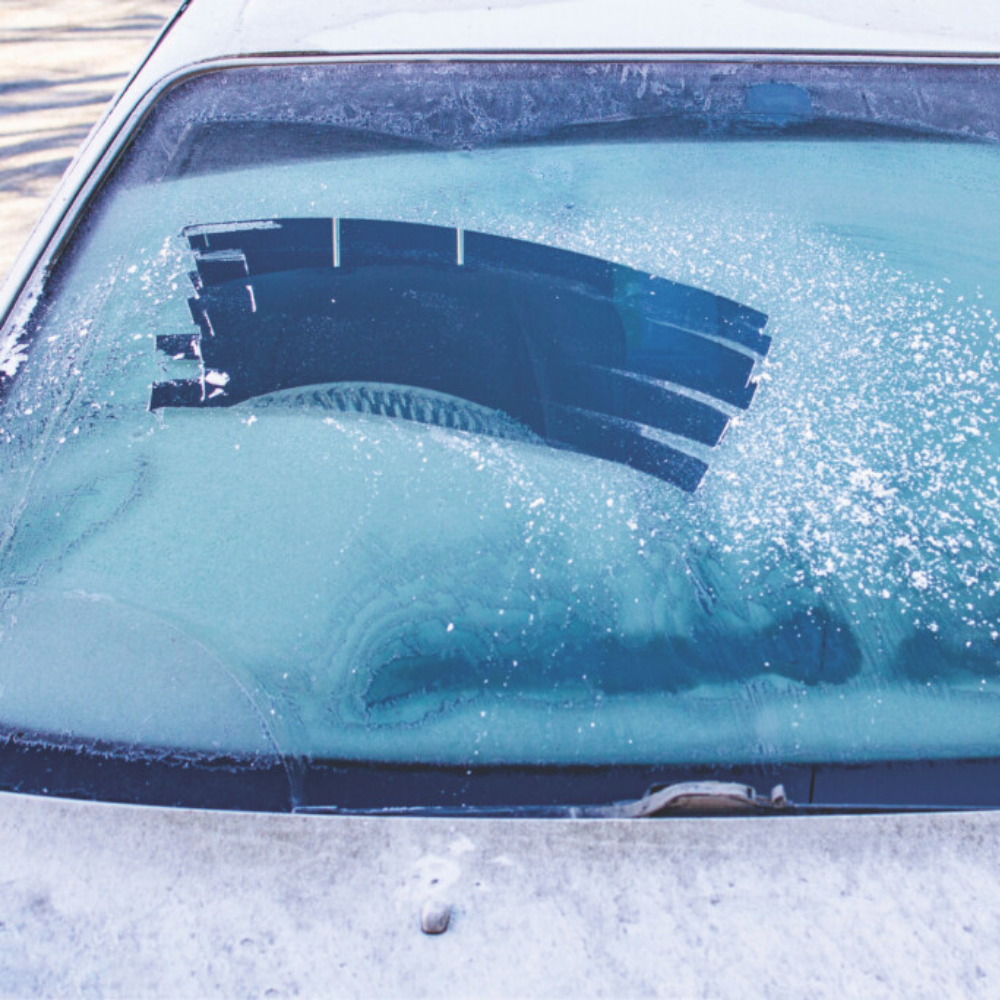
Winter wall graphics installations can be challenging, often leading to adhesive failures, lifting edges, and costly reprints if the right steps aren’t taken. Cold surfaces, condensation, and improperly acclimated materials are the most common causes of winter installation problems. This guide explains why wall graphics fail in cold weather and provides practical tips for installers and production teams to ensure successful, reliable results every time.
-
'Tis the Season - Cold Weather Media That Delivers Every Time
November 6th, 2025
As winter rolls in, every installer and print provider feels the challenge: colder surfaces, tougher conditions, tighter deadlines — and a rush of seasonal projects that can’t wait for the weather to cooperate. But don't worry! These cold-weather and holiday-ready solutions keep your installs strong, your prints flawless, and your creativity flowing — no matter what the forecast says.
-
Confused about what products are Earth-Friendly?
March 23rd, 2021
Quality offers a full line of sustainable or earth-friendly products with one or more of the following properties:
1. Manufactured from PCW (Post-Consumer Waste)
2. Recyclable
3. PVC-Free
4. FSC Certified
5. LEEDs Certified
Posted in: All Articles, Adhesives, Fabrics, Floor Graphics, Photo Paper, Wall Graphics, Window Graphics -
Optically Clear Window Films, Adhesives & Laminates
February 8th, 2021
Do you have requirements for Optically Clear products? Applications like Window Graphics or Perforated Window Film?
What makes these products “optically clear”?
It is their polyester liner which has absolutely no texture unlike even silicone coated paper liners.
Here is your go-to resource for Optically Clear printable films, adhesives and overlaminates:
-
Resolving Silvering Issues With Facemount Adhesives
May 9th, 2017
In the wide format digital print area, there is still a vibrant market for graphics displayed behind clear acrylic. These graphics are often referred to as “museum mounts” since this is a popular way to display artwork in galleries. These graphics are usually mounted behind a piece of “graphics” grade acrylic with a rigid backer and cleats to allow the finished product to be mounted on a wall.
The process involves using a laminator to apply a two sided optically clear adhesive film to a printed image then adhering that image to the back of a “graphics” grade custom cut piece of acrylic. The next step is to apply a high tack two-sided adhesive to a rigid backer (typically PVC) and then marrying the acrylic/ print to the rigid backer through the laminator. The last step involves adding “cleats” to the back of the graphic to apply it to a wall. When this process was initially introduced, the print media was a smooth photographic paper commonly referred to as a C print. As the resolution of digital prints (aqueous, uv, solvent and latex) improved, the market has shifted from photographic papers to these lower cost, lower maintenance options. Print producers can now be more price competitive in this art market where the margins are better than traditional digital output (banners, fleet graphics, yard signs). Once the print producer has mastered the process of mounting the print and backer, he or she will often face the issue of how to eliminate the “silvering” (tiny air bubbles) between the print and the acrylic. This silvering is most apparent in areas with dark images. Let’s look at the reasons this silvering may occur:
Posted in: All Articles, Adhesives