
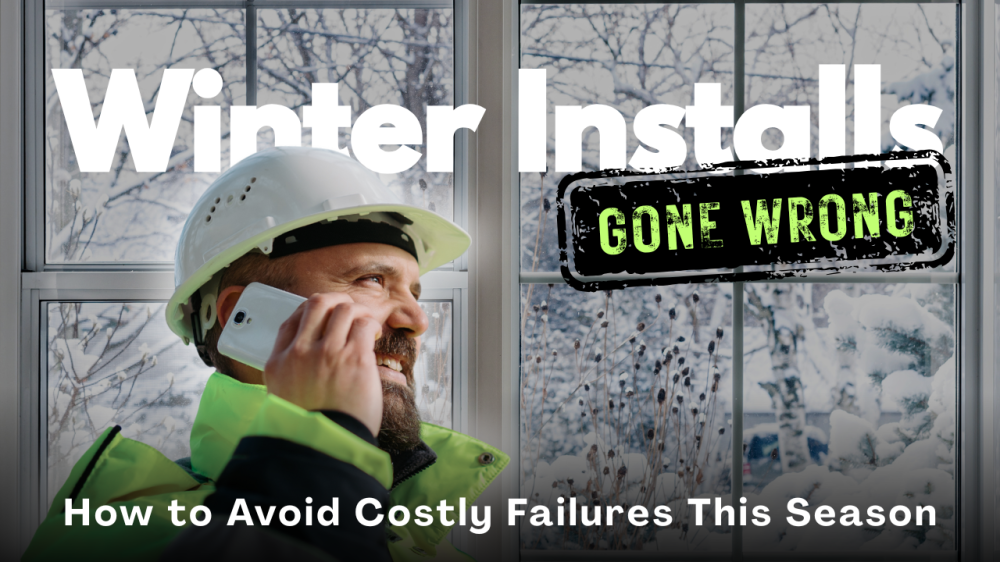
Why Winter Installs Fail (and How to Prevent Them)
December 3rd, 2025


Winter installations can be deceptively tricky. We see it every year: graphics that don’t stick, edges lifting, or jobs that look perfect one day and fail the next. More often than not, these failures aren’t caused by defective products — they’re caused by environmental conditions and small, easy-to-overlook process gaps.
Temperature Is More Important Than You Think
It’s easy to assume that if the room feels warm, the installation is safe. But surfaces tell a different story. Walls, panels, and glass often remain cold long after the air has warmed. Adhesives require the right surface temperature to bond properly. If the surface is too cold, even a seemingly perfect install can fail later.
Tips to prevent temperature-related failures:
-
Measure the surface temperature, not just the air temperature.
-
Let walls and panels warm naturally before installation.
-
Follow the manufacturer’s recommended temperature range for adhesives and materials.
Moisture and Condensation Can Cause Hidden Failures
Cold weather often brings moisture problems that aren’t immediately visible. Rapid temperature changes — like turning on heat in a cold building — can create condensation on surfaces. Even a thin layer of moisture can compromise adhesion, leading to edges lifting or bubbles forming after installation.
What to watch for:
-
Overnight temperature swings
-
Cold exterior walls in heated spaces
-
Installing materials immediately after moving them indoors
Preventative steps:
-
Ensure surfaces are dry and clean before installation.
-
Allow the environment to stabilize before applying materials.
-
Avoid rushing installations when conditions are unpredictable.
Material Acclimation Is Critical
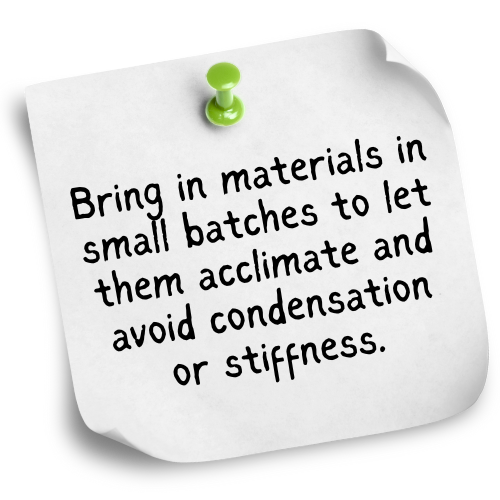
One of the biggest winter mistakes we see is skipping material acclimation. Materials stored in cold trucks or storage areas become stiffer, making them harder to handle and affecting adhesive performance. Installing before materials have adjusted to the room temperature is a common cause of winter failures.
Best practices for acclimation:
-
Bring materials inside well before installation.
-
Allow time for them to reach the installation space temperature.
-
Avoid “truck-to-wall” installs in cold weather.
Tools and Technique Matter Even More in Winter
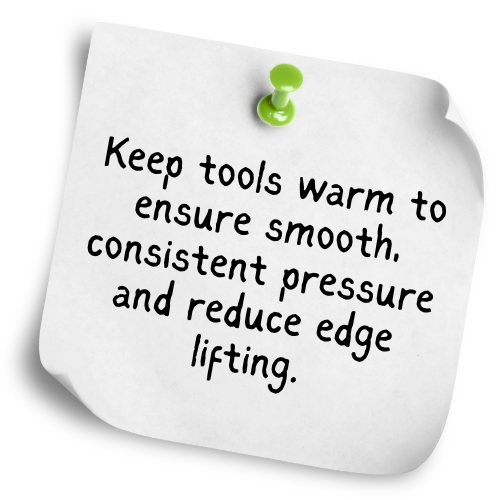
Cold materials leave very little room for error. Inconsistent pressure, uneven application, or improper cutting techniques are magnified when materials are stiff or less forgiving. The right tools, applied carefully, reduce the risk of winter failures. Winter installation tips:
-
Use tools that provide consistent pressure.
-
Take extra time for clean, accurate cuts.
-
Don’t rush — small mistakes are harder to correct in cold conditions.
Planning Ahead Prevents Costly Mistakes
Winter failures aren’t inevitable. Success comes from awareness, preparation, and attention to detail. Taking the time to monitor environmental conditions, properly acclimate materials, and maintain consistent installation practices can prevent callbacks, reprints, and wasted time — even in the coldest months.
Cold weather can challenge any installation, but it doesn’t have to derail your projects. By understanding the environmental factors at play and adjusting your process accordingly, you can achieve reliable, professional results all winter long.
![]()
Check out Continental Grafix's Cold Weather Guide here:


